My Video Game was Crashing; Now I have a Homelab
As with most of my projects, this one started with an inconvenience; namely, Helldivers 2™ was taking longer to load than I would have preferred, and I was dropping from matches in Star Wars: Battlefront 2™. One video game being slow is one thing, but 2 video games is suspicious, even two floors above the router on Wi-Fi My home security panel also losing connectivity to Wi-Fi, in the same room as the router, was the alarm. After doing connectivity tests I saw inconsistent latency spikes, packet loss, and client errors. Opening up my router’s settings dashboard showed me all of my devices had somehow been funneled onto my 2.4Ghz band. The solution was absurdly simple — power cycle the router — but I was still left unsatisfied with slow connection speeds up in my office.
Thanks to the power of doomscrolling IT Instagram, I knew about network meshes but had never set one up. Thanks to internet tutorials, in about 10 minutes, I had the false confidence I could do this by myself, and that was all I needed. A couple of days, a Best Buy trip and $240 later, I had 2 MoCA adapters and a 3 pack of Deco Wi-Fi mesh nodes. What is a MoCA adapter? MoCA adapters essentially let you use the coaxial cable already inside your walls as an Ethernet-like wired backbone.
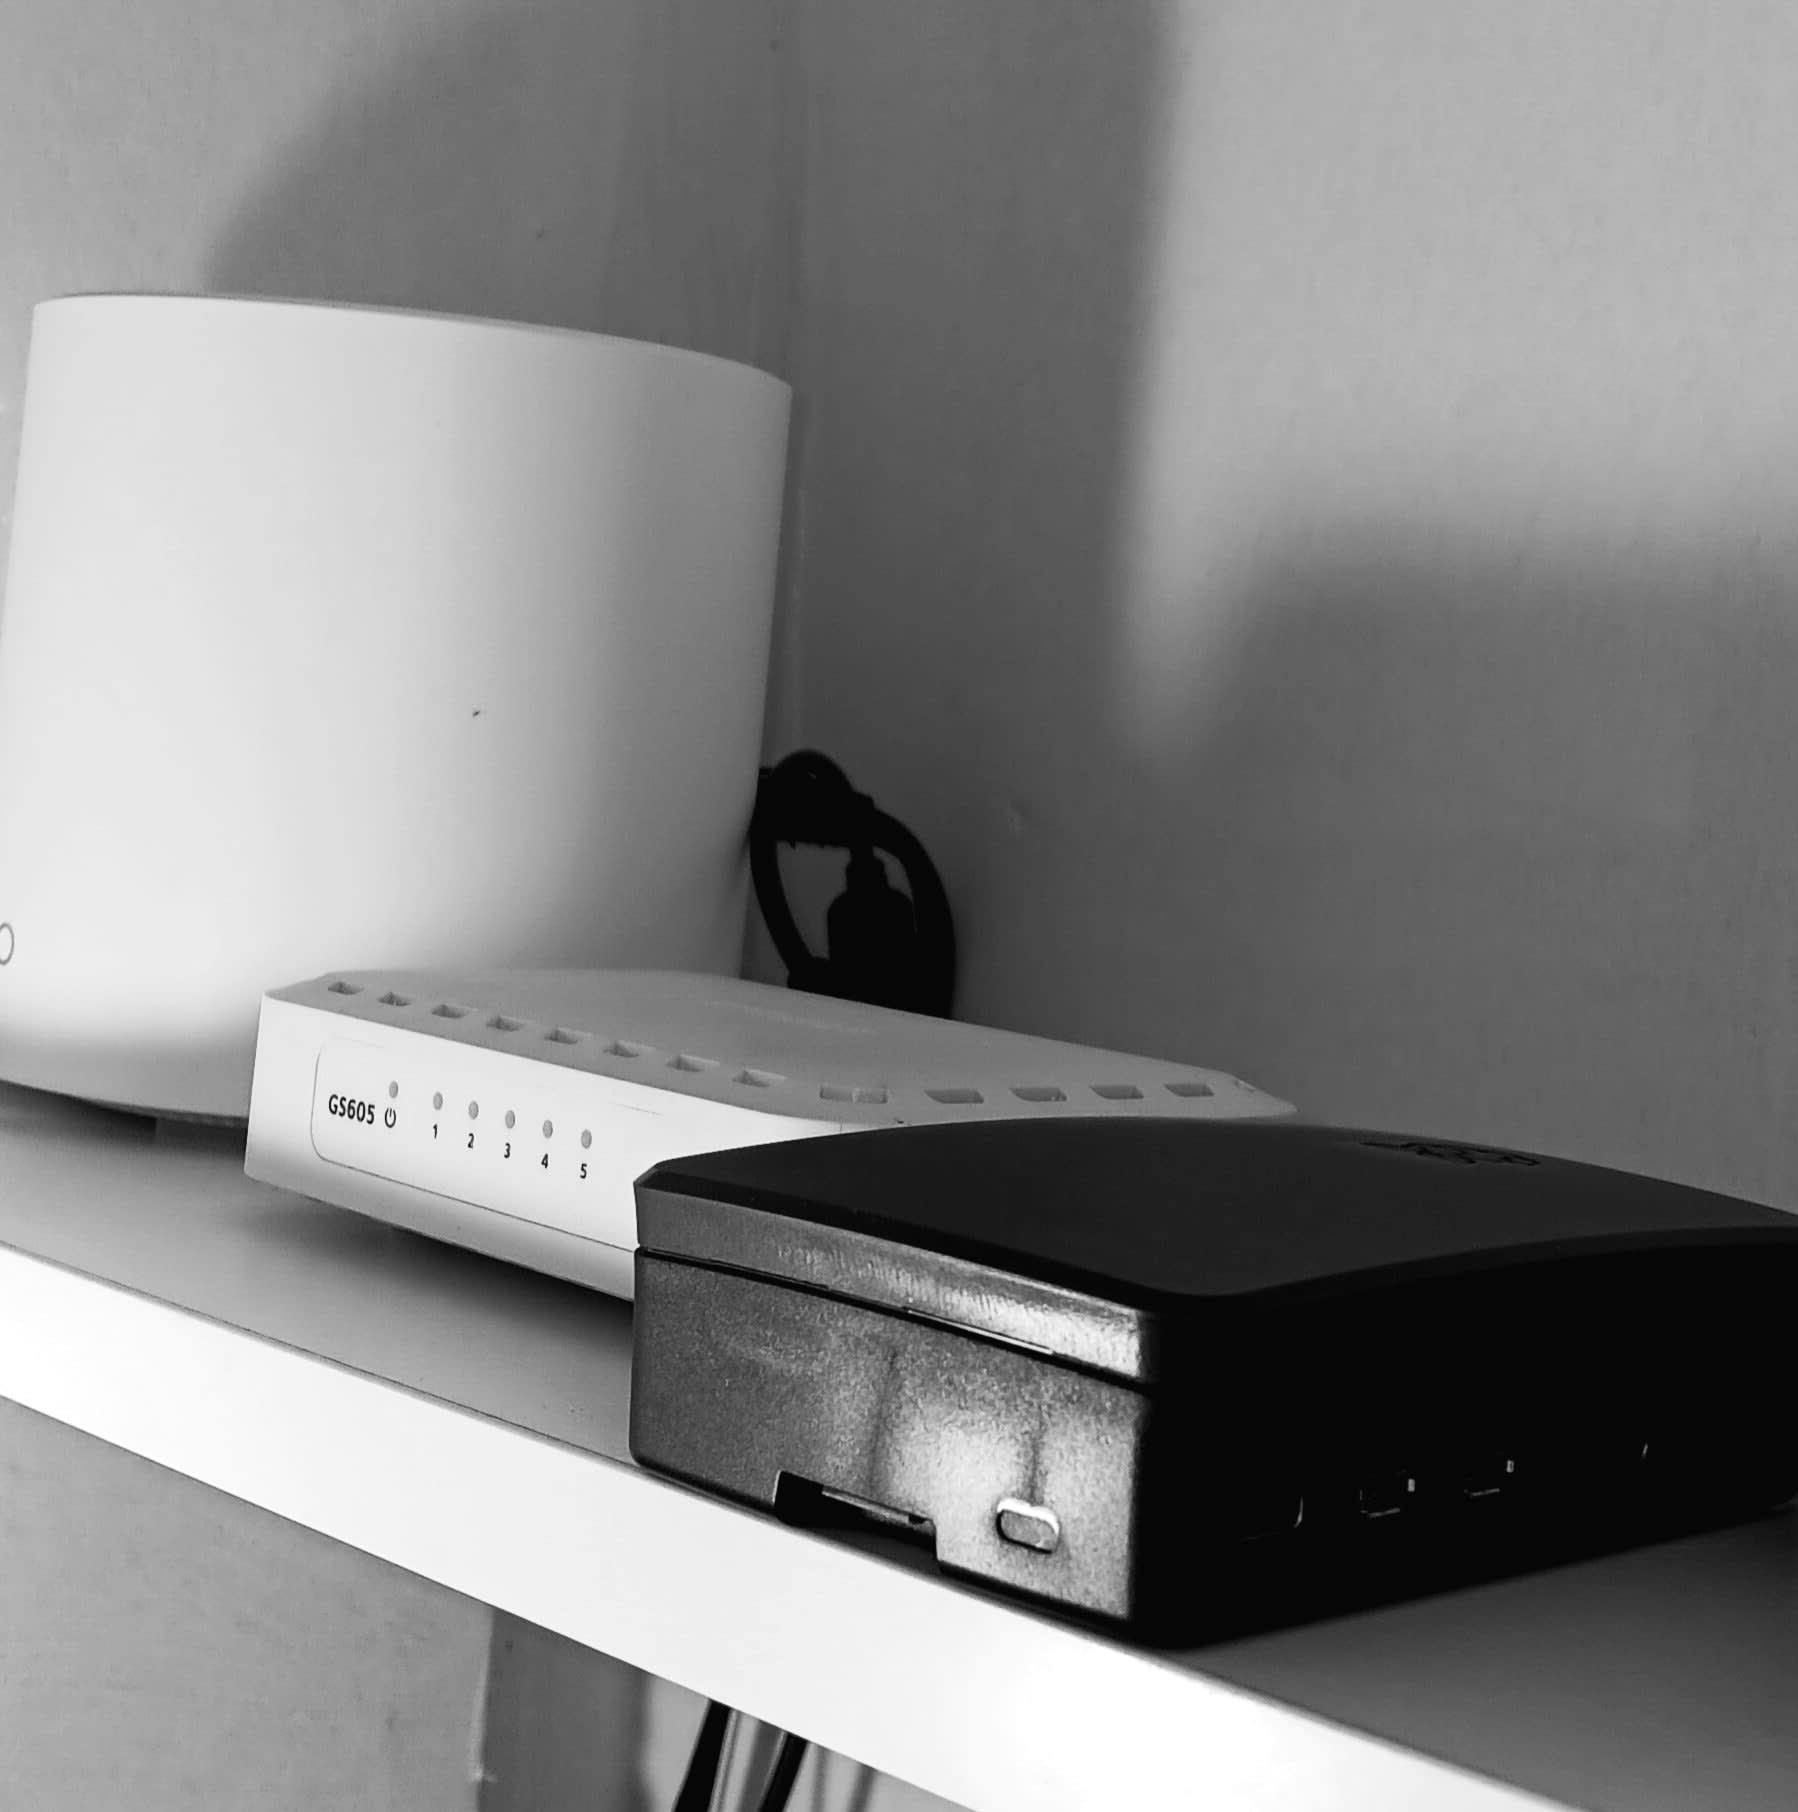
Living in a century home has many challenges. One of which is that nobody ran ethernet through the house, or apparently used DSL. Or perhaps they did and the previous owners were smart and set up their office closer to the router. Either way, I had coaxial cables running through my house instead, which necessitated the two MoCA adapters. From there, I simply plugged one node into the router, one MoCA into the router, and a second node on the second floor into a second MoCA adapter that was plugged into the coaxial cable in our master bedroom. Now, instead of one focal point that all signals had to be routed to in a single bubble, I had two overlapping bubbles of Wi-Fi that could share the load, with multiple access points to connect to. And if one node fails, the other was there to pick up the slack. After setting both nodes in Access Point mode and setting up a new network, I began moving devices over and made sure my pc prioritized connecting to the second floor node, which was directly beneath it. Immediately, my internet speed doubled from the Office and my connections were much more stable. But now I had a new problem. I had quite enjoyed doing manual network configuration setup in the terminal and running wires and designing my network topology. There was an itch that needed to be scratched, and sitting atop my pc was a Raspberry pi 4 from a software defined radio project I had done.
Raspberry Pi’s are mischievous little devices. They’re small, cheap, and pose a low barrier of entry to professional home tinkering with IoT and experimentation. Running on a version of Debian Linux, they are quite versatile and seem innocent. But once you start tinkering with them, they have a tendency to trap you. Less than 24 hours later, I had renamed it to MCP, after the Master Control Program from the classic 1980’s Disney movie, Tron, which had also inspired the name of my network, The Grid. After some tinkering, I set up the MCP to be accessible via ssh from my pc, had downloaded various lab programs, such as Docker and deployed Uptime Kuma on Docker with two health check monitors that I could access from my phone, simply by navigating to MCP:3000, while logged into The Grid.
I had done it. I had successfully set up my own homelab and home server on my own private network mesh. And then I remembered I had a spare SSD drive laying around.